Hello friend,
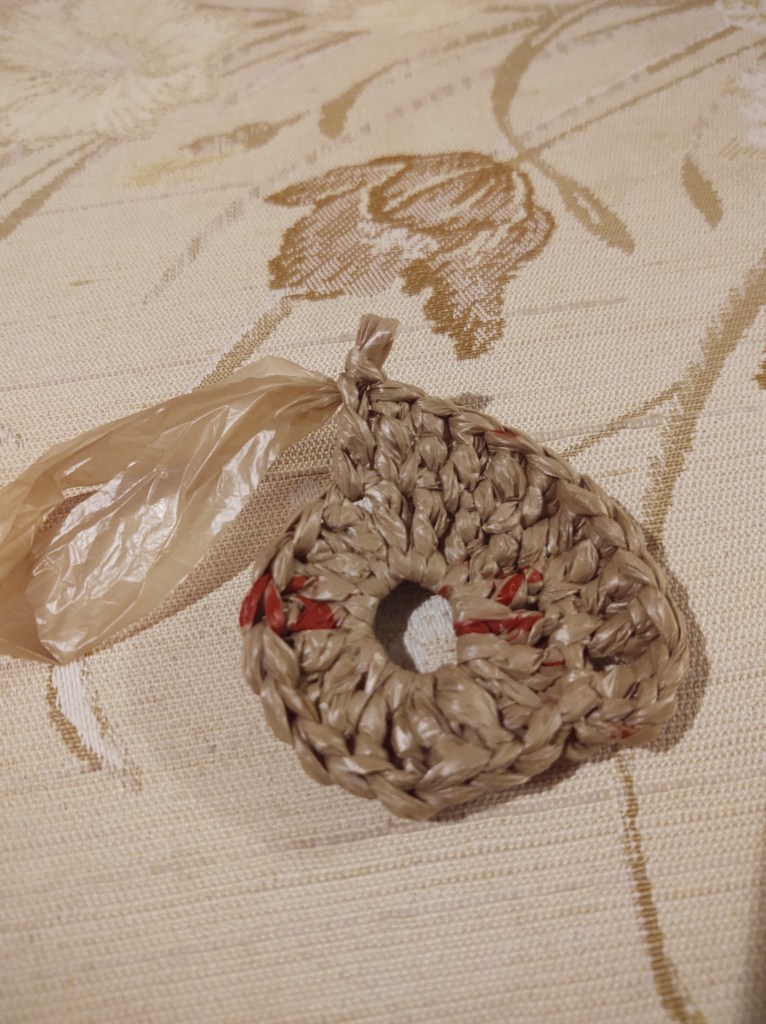
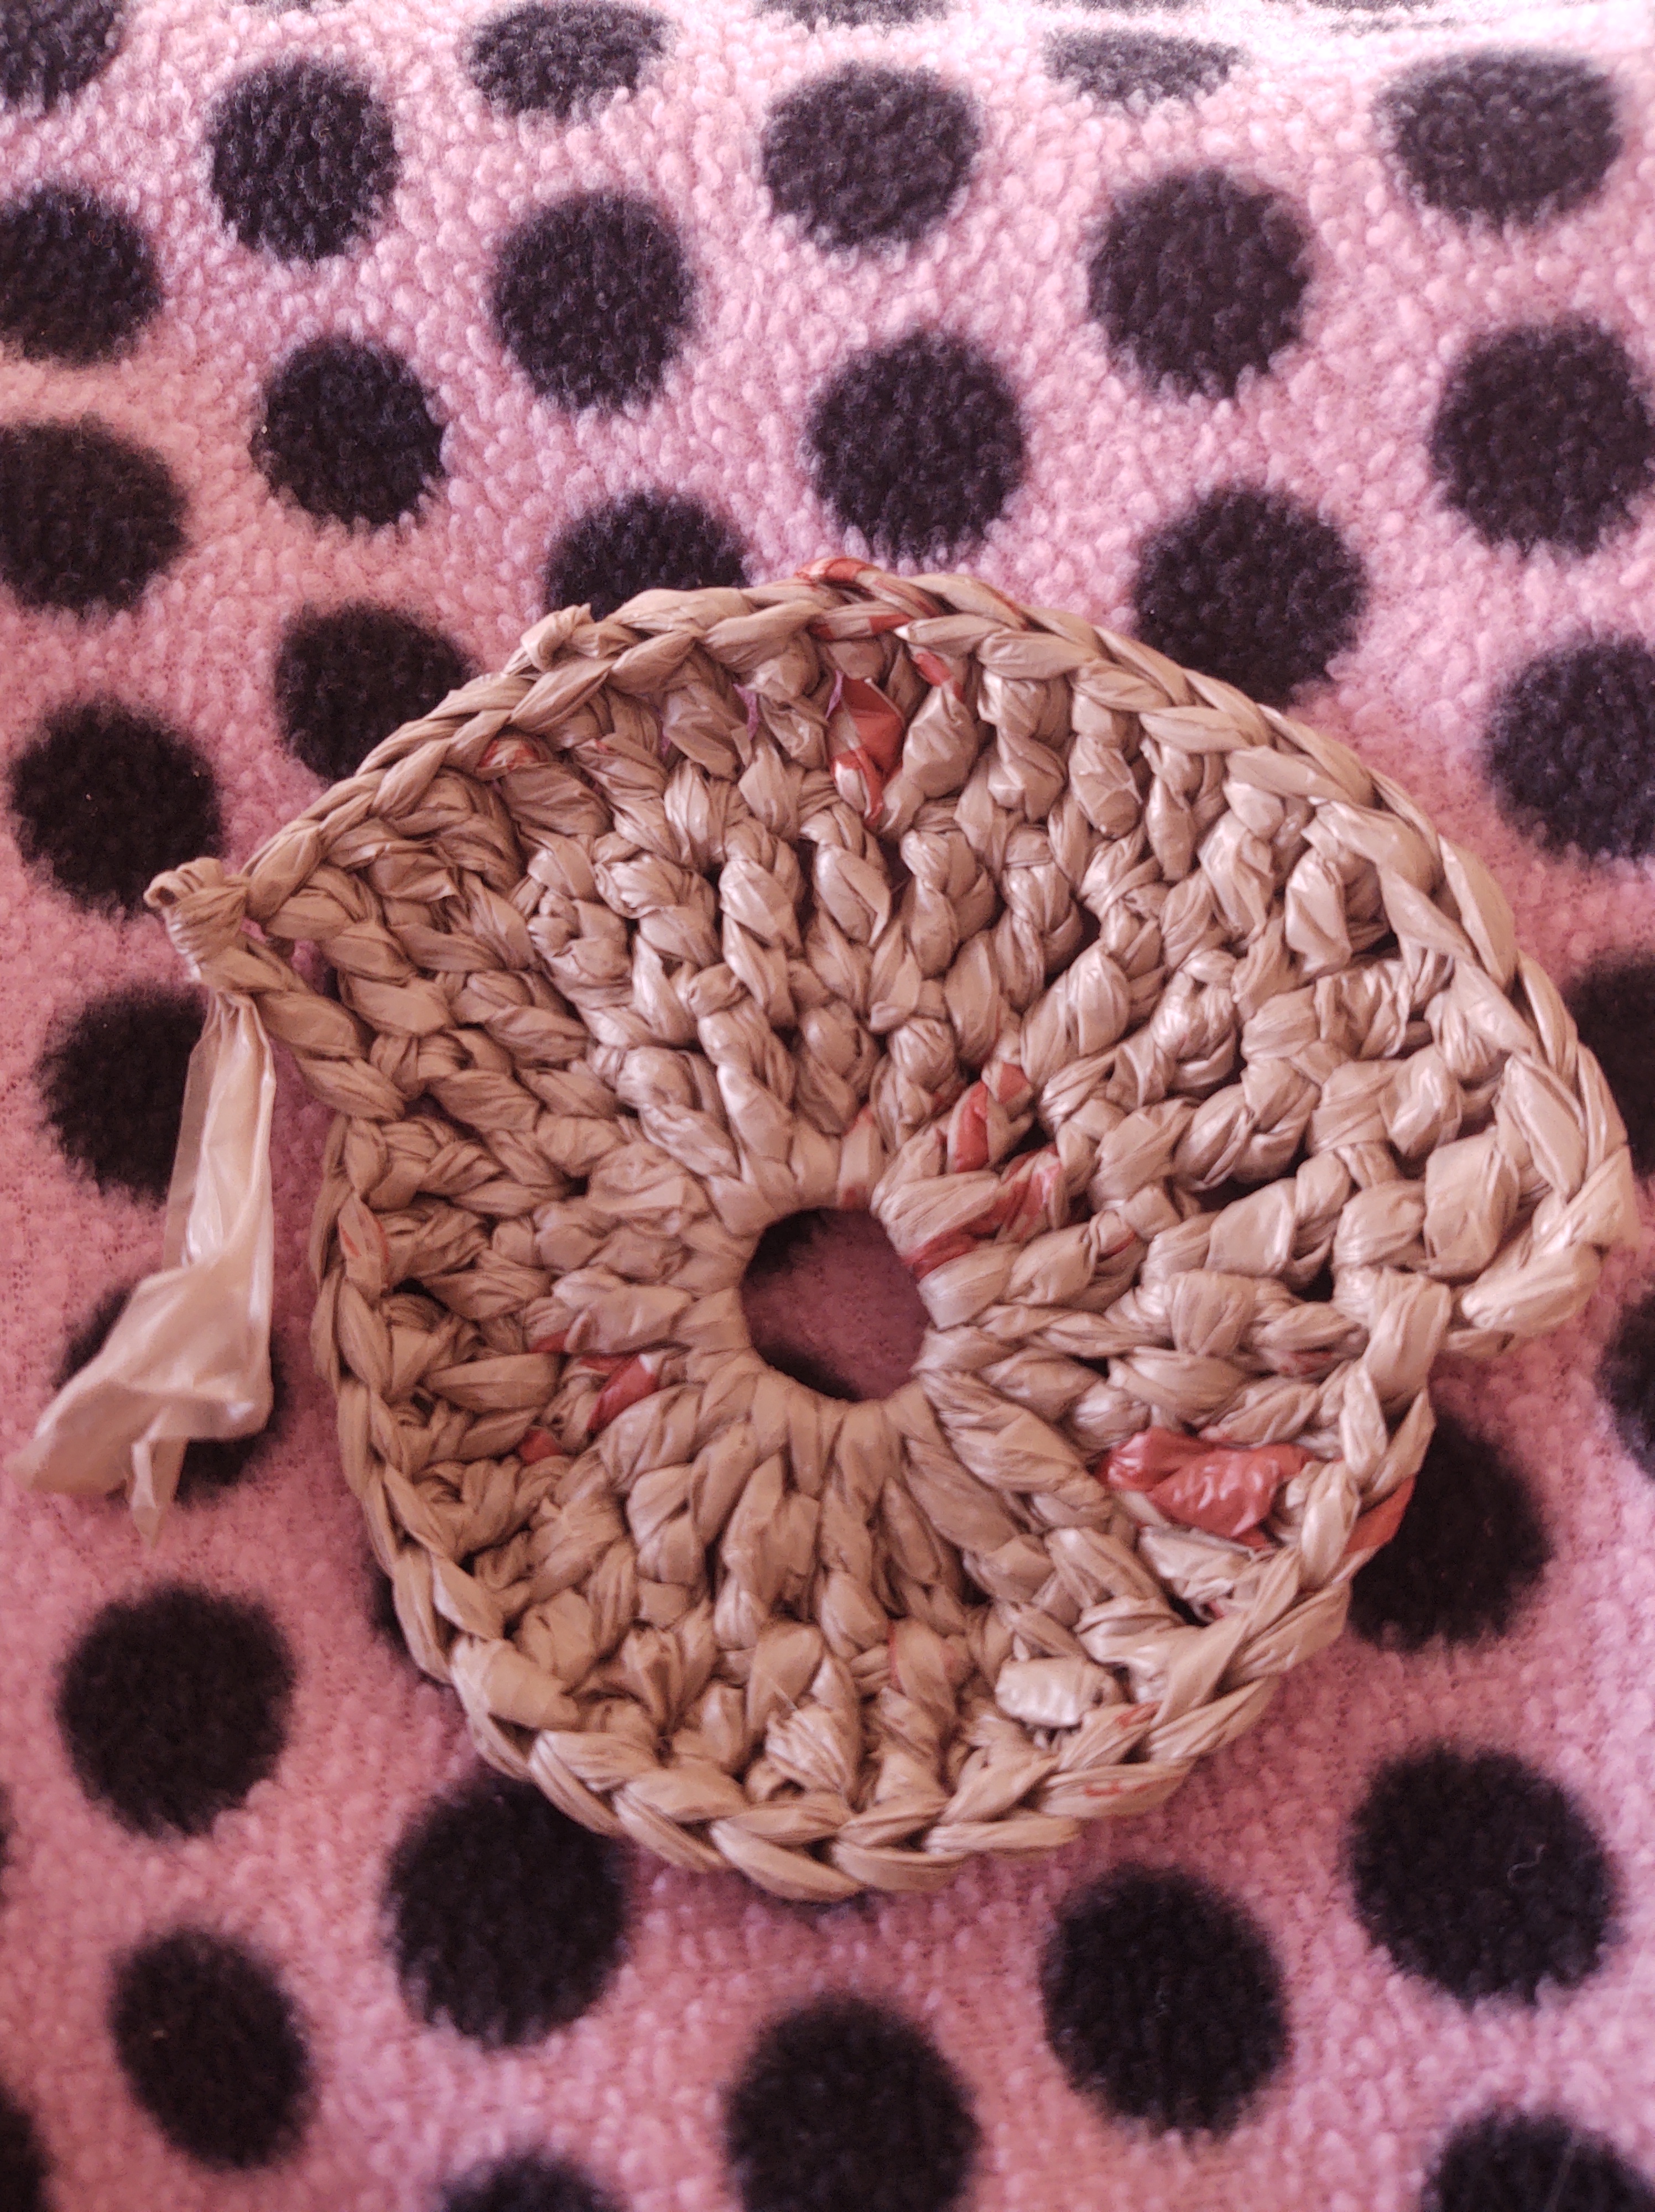
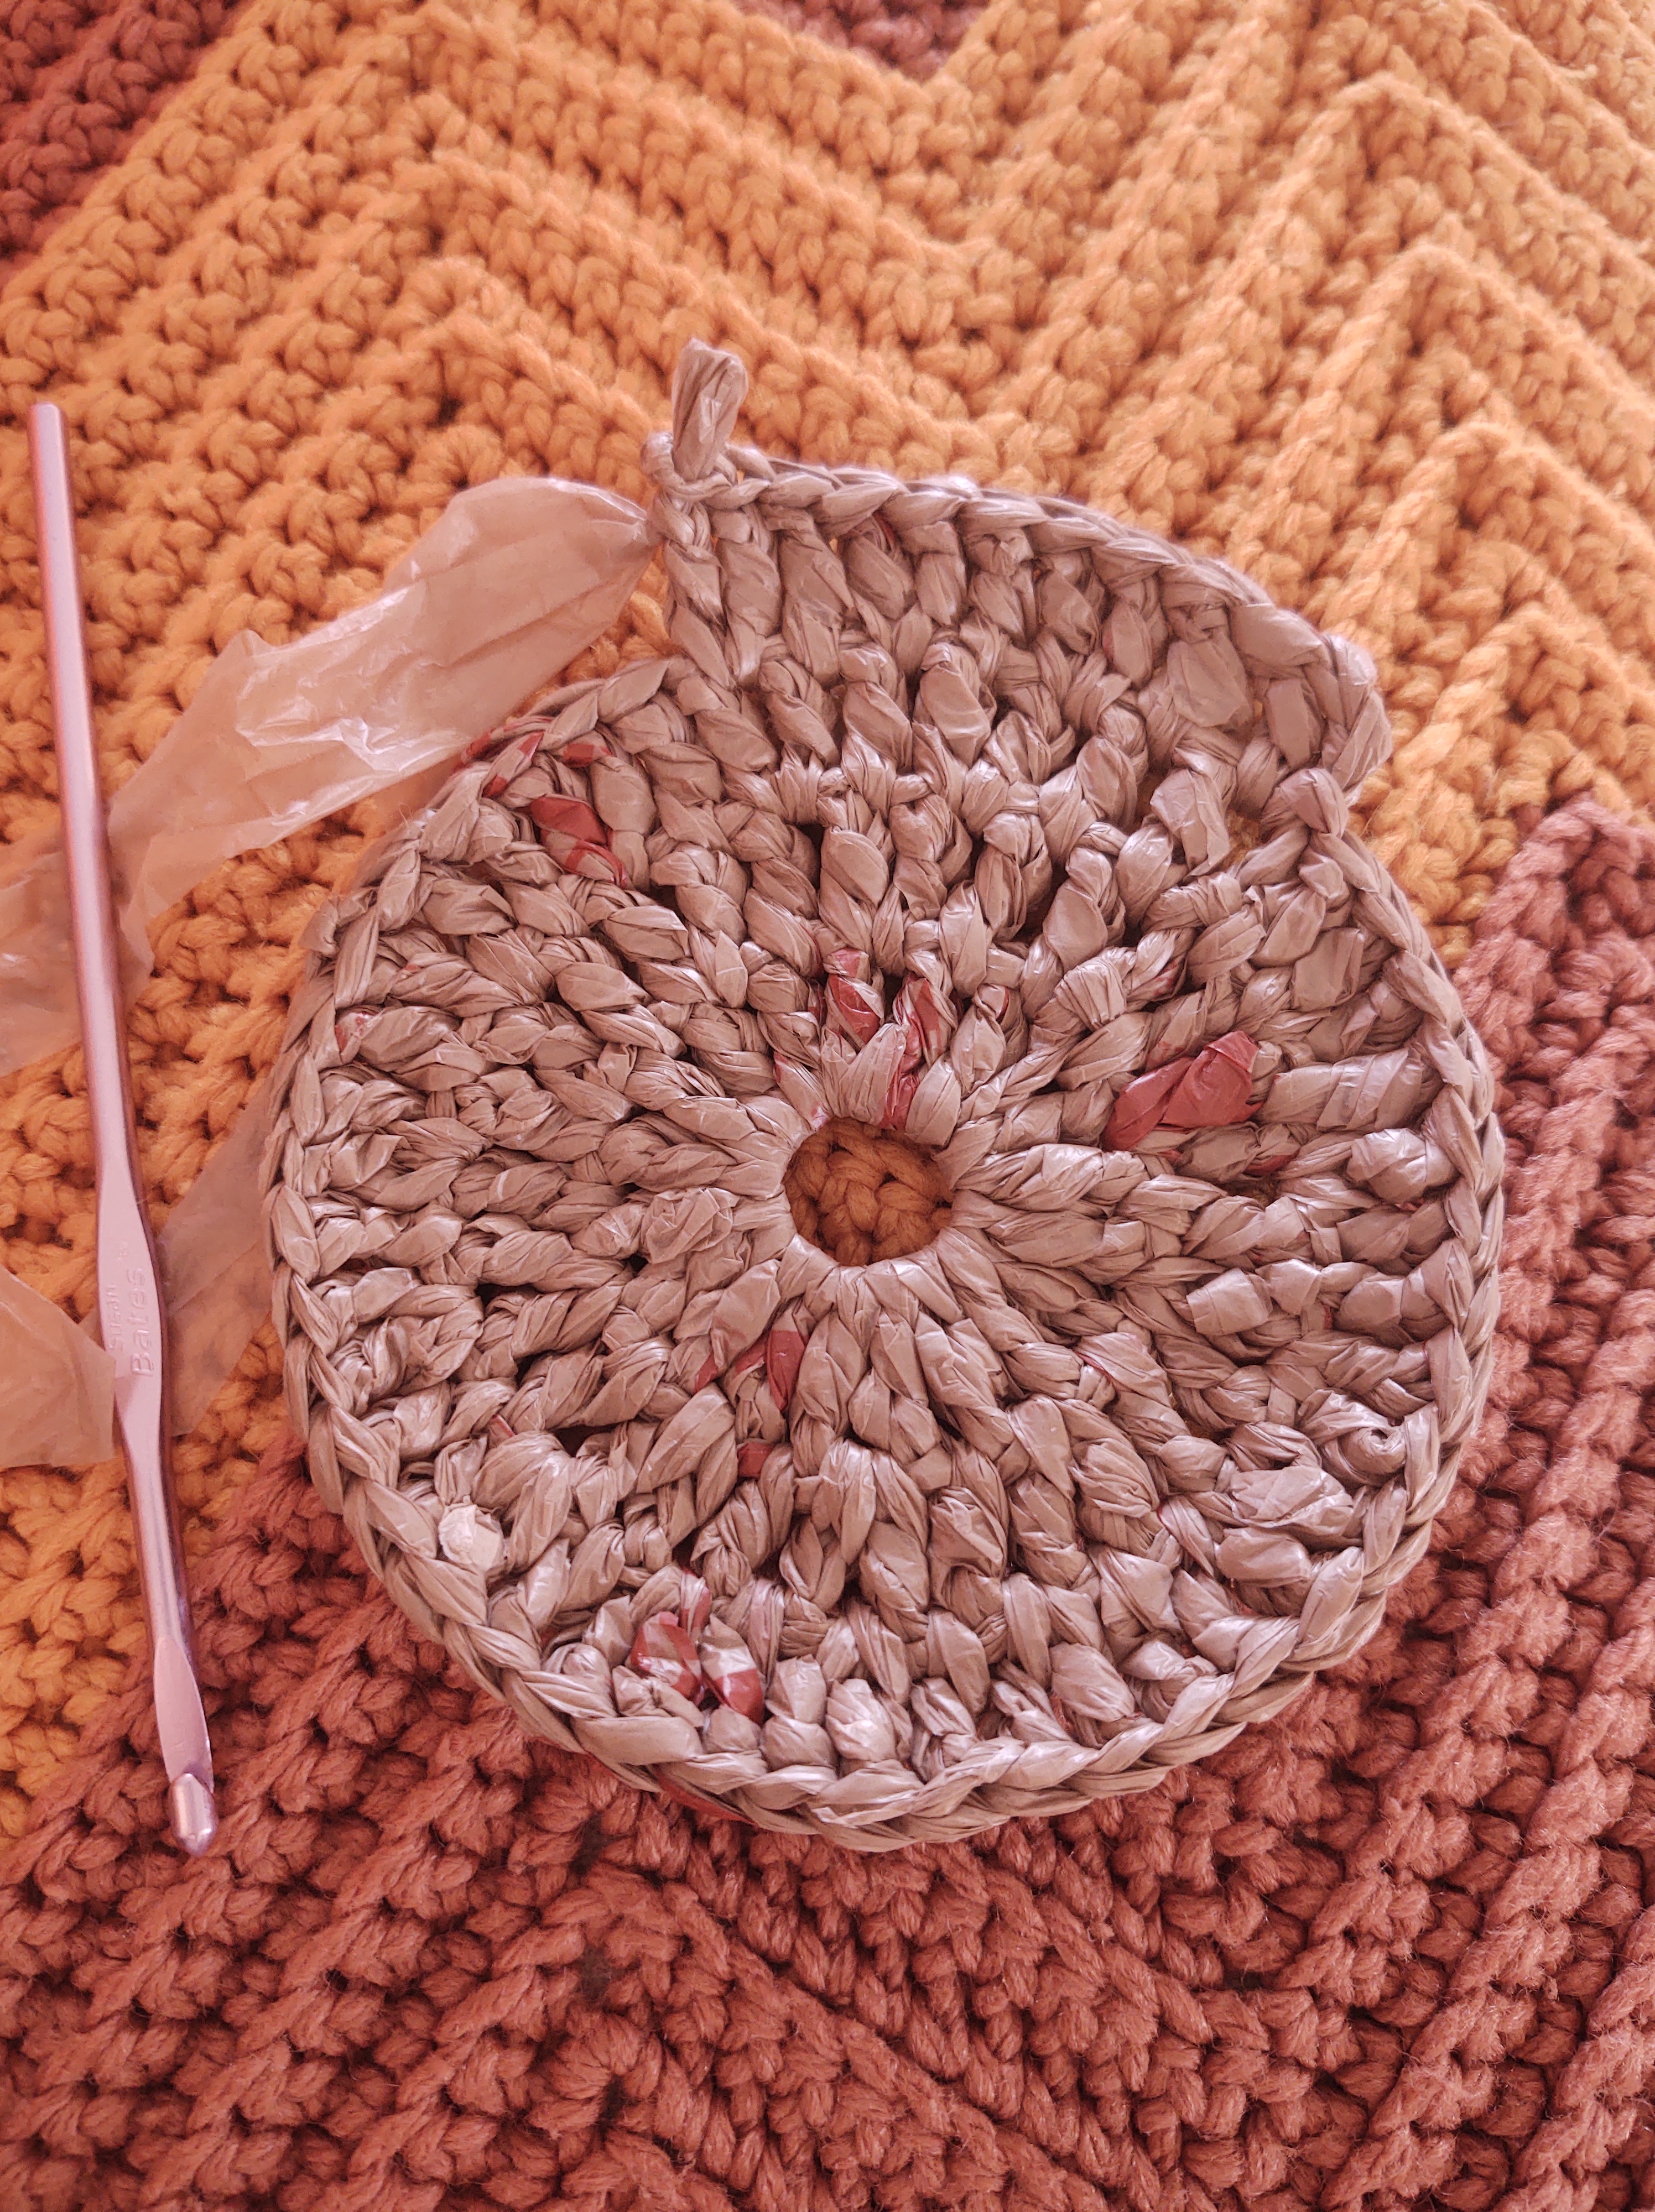
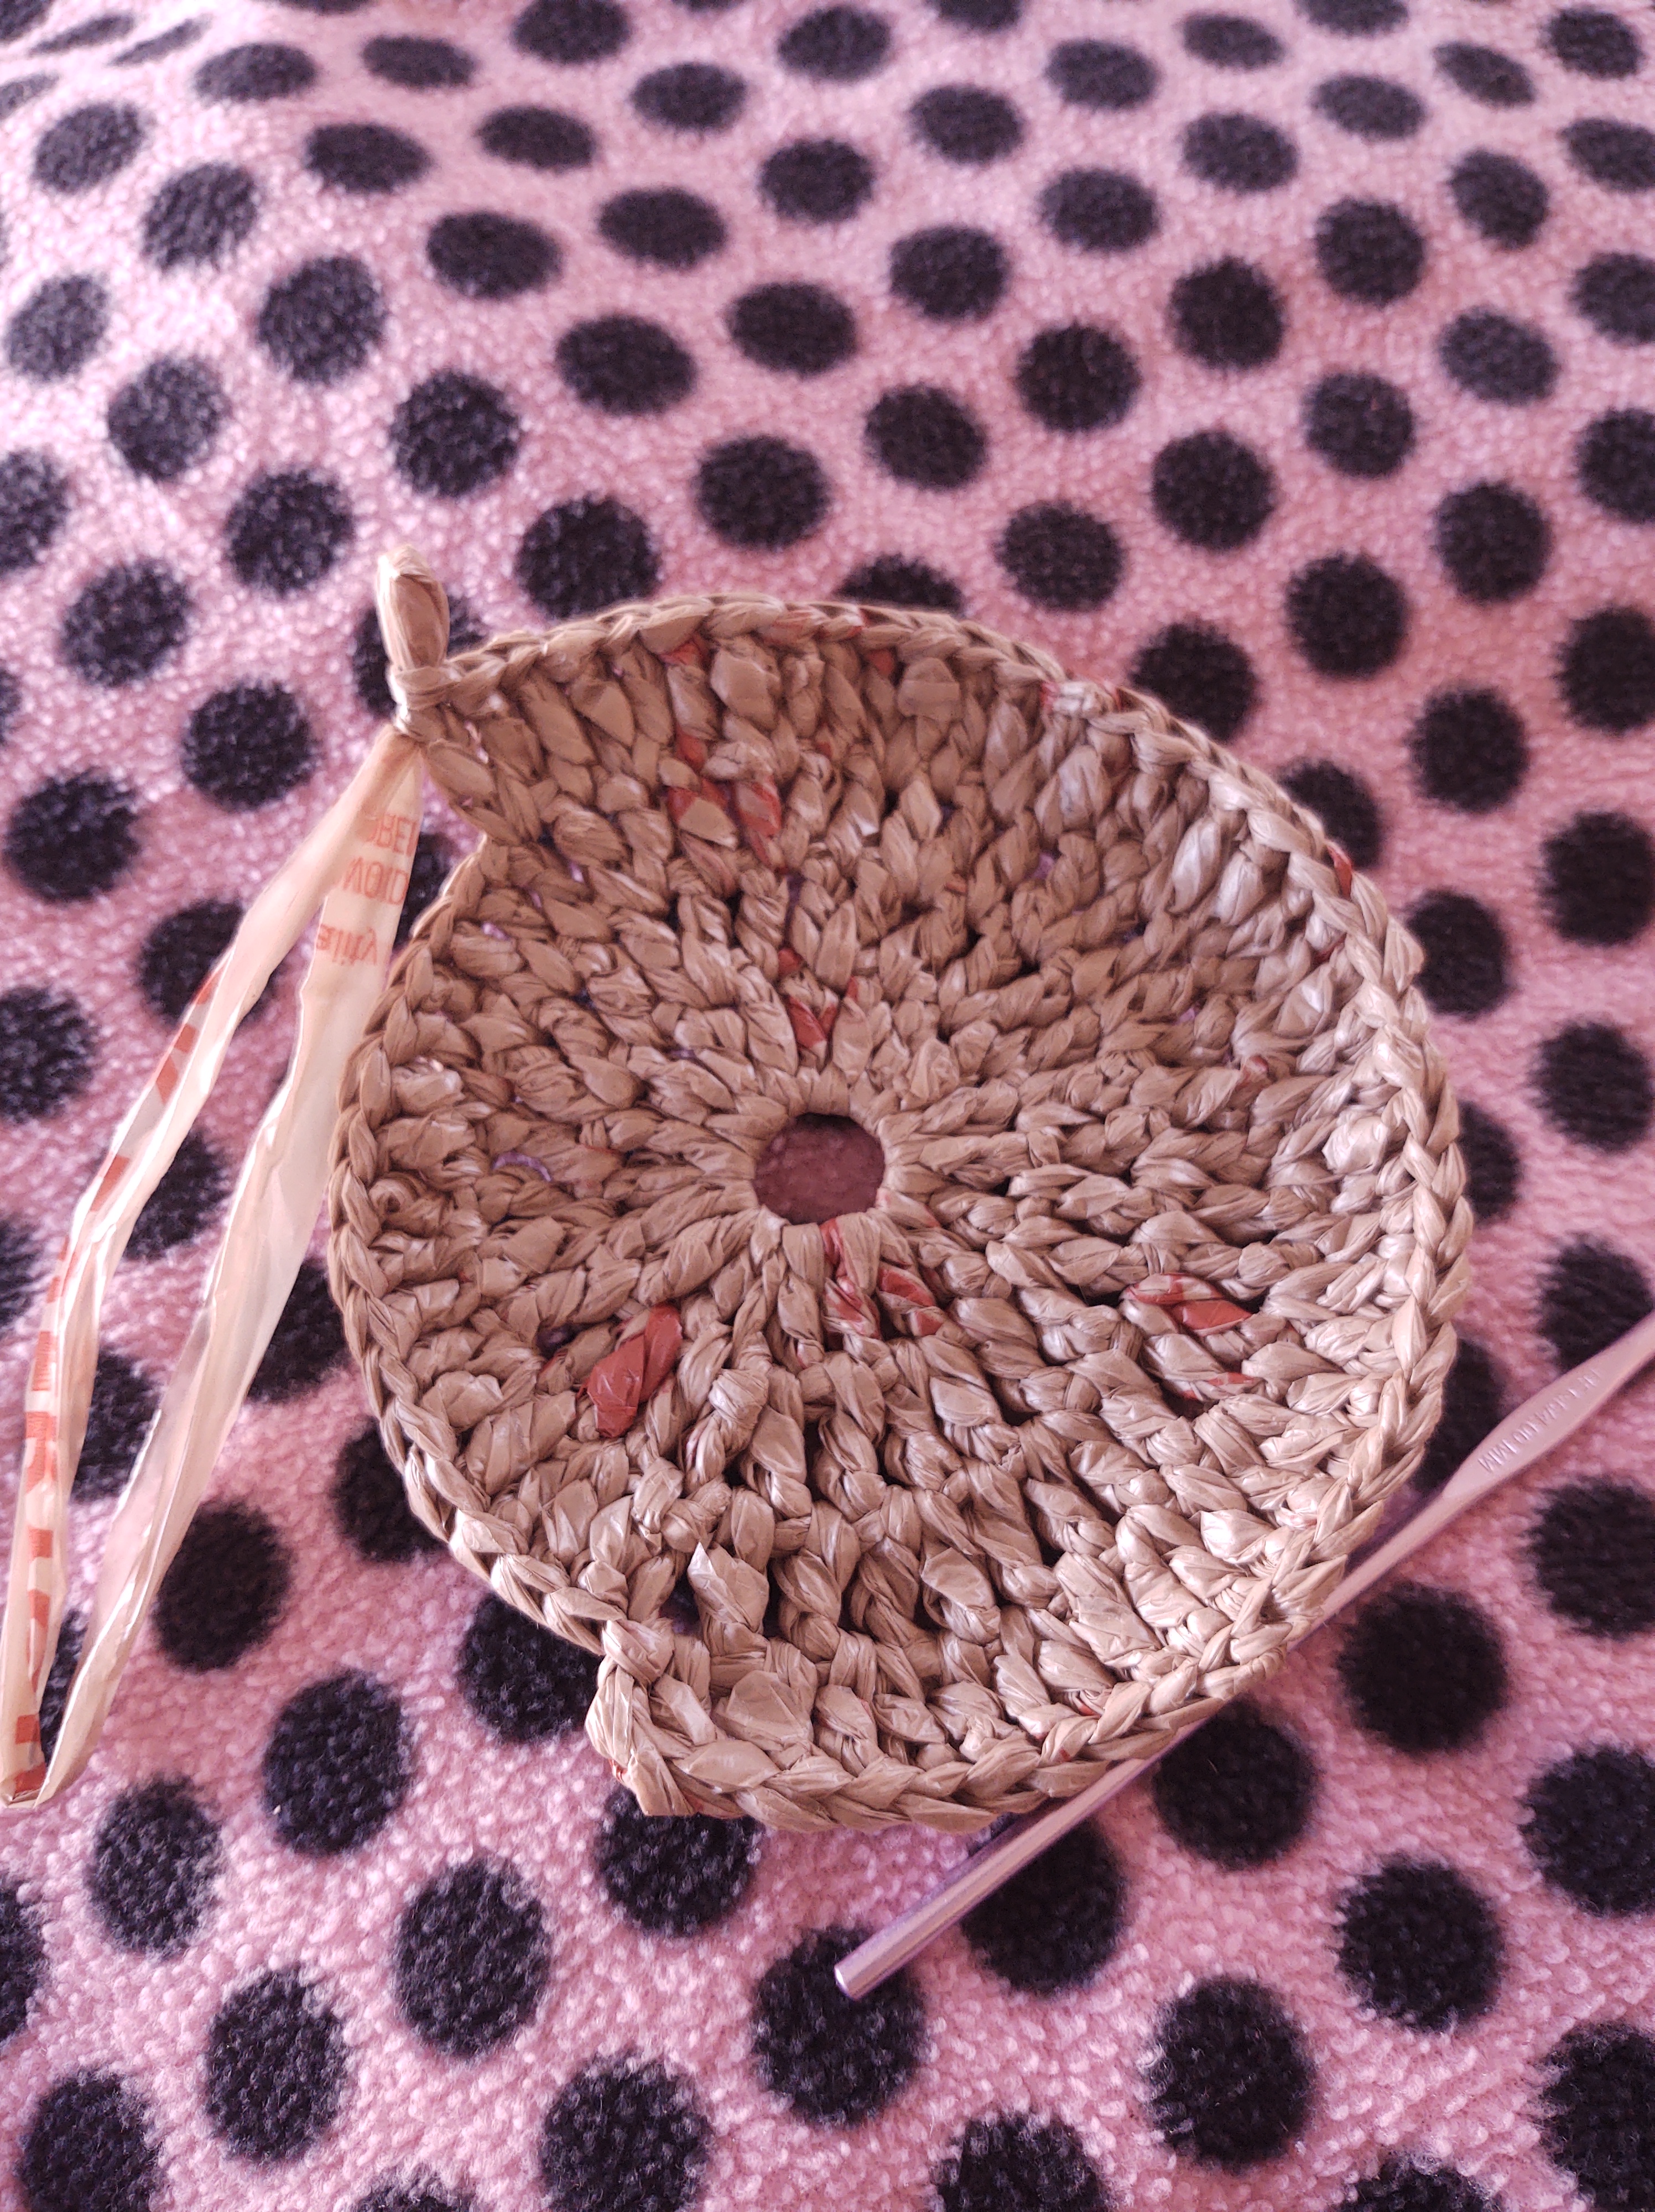
I’m back with some crochet. I’ve been working on my home’s decor and specially crafting items for my home. I love a red kitchen so I’ve made red napkins and coasters but with 4 children, I learned quickly that I can’t have enough napkins and coasters and that my beautiful fabric ones need to be washed almost after each use. So I made the decision of making plarn coasters. So far I’ve made 2 and I’m happy to say I’ve not had to wash them and they’re very stylish too. They’ll last much longer than my fabric ones.
What is plarn and how to make it
Plarn is plastic yarn and it’s made out of plastic bags. It’s a great way to recycle plastic bags and with it can be made sturdy items that will last a very long time for free. See my pictures below for an idea of how to make it. Let me know if you’d like a video of the making of plarn.
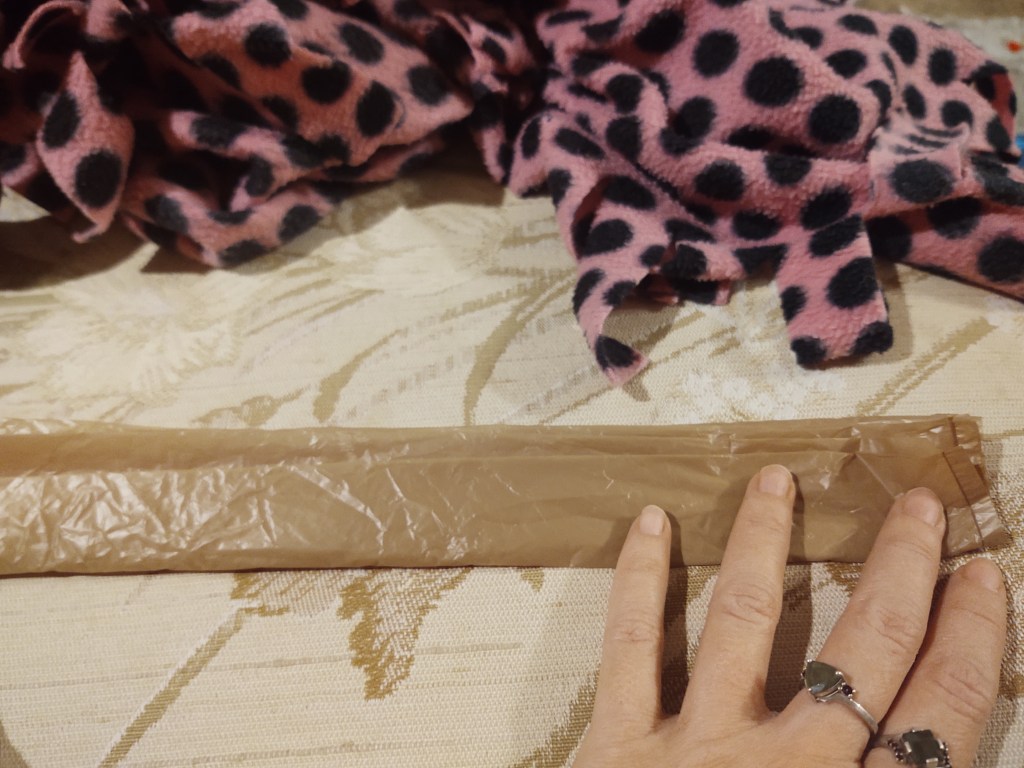
Step 1: fold the plastic bag carefully so that all ends are even.
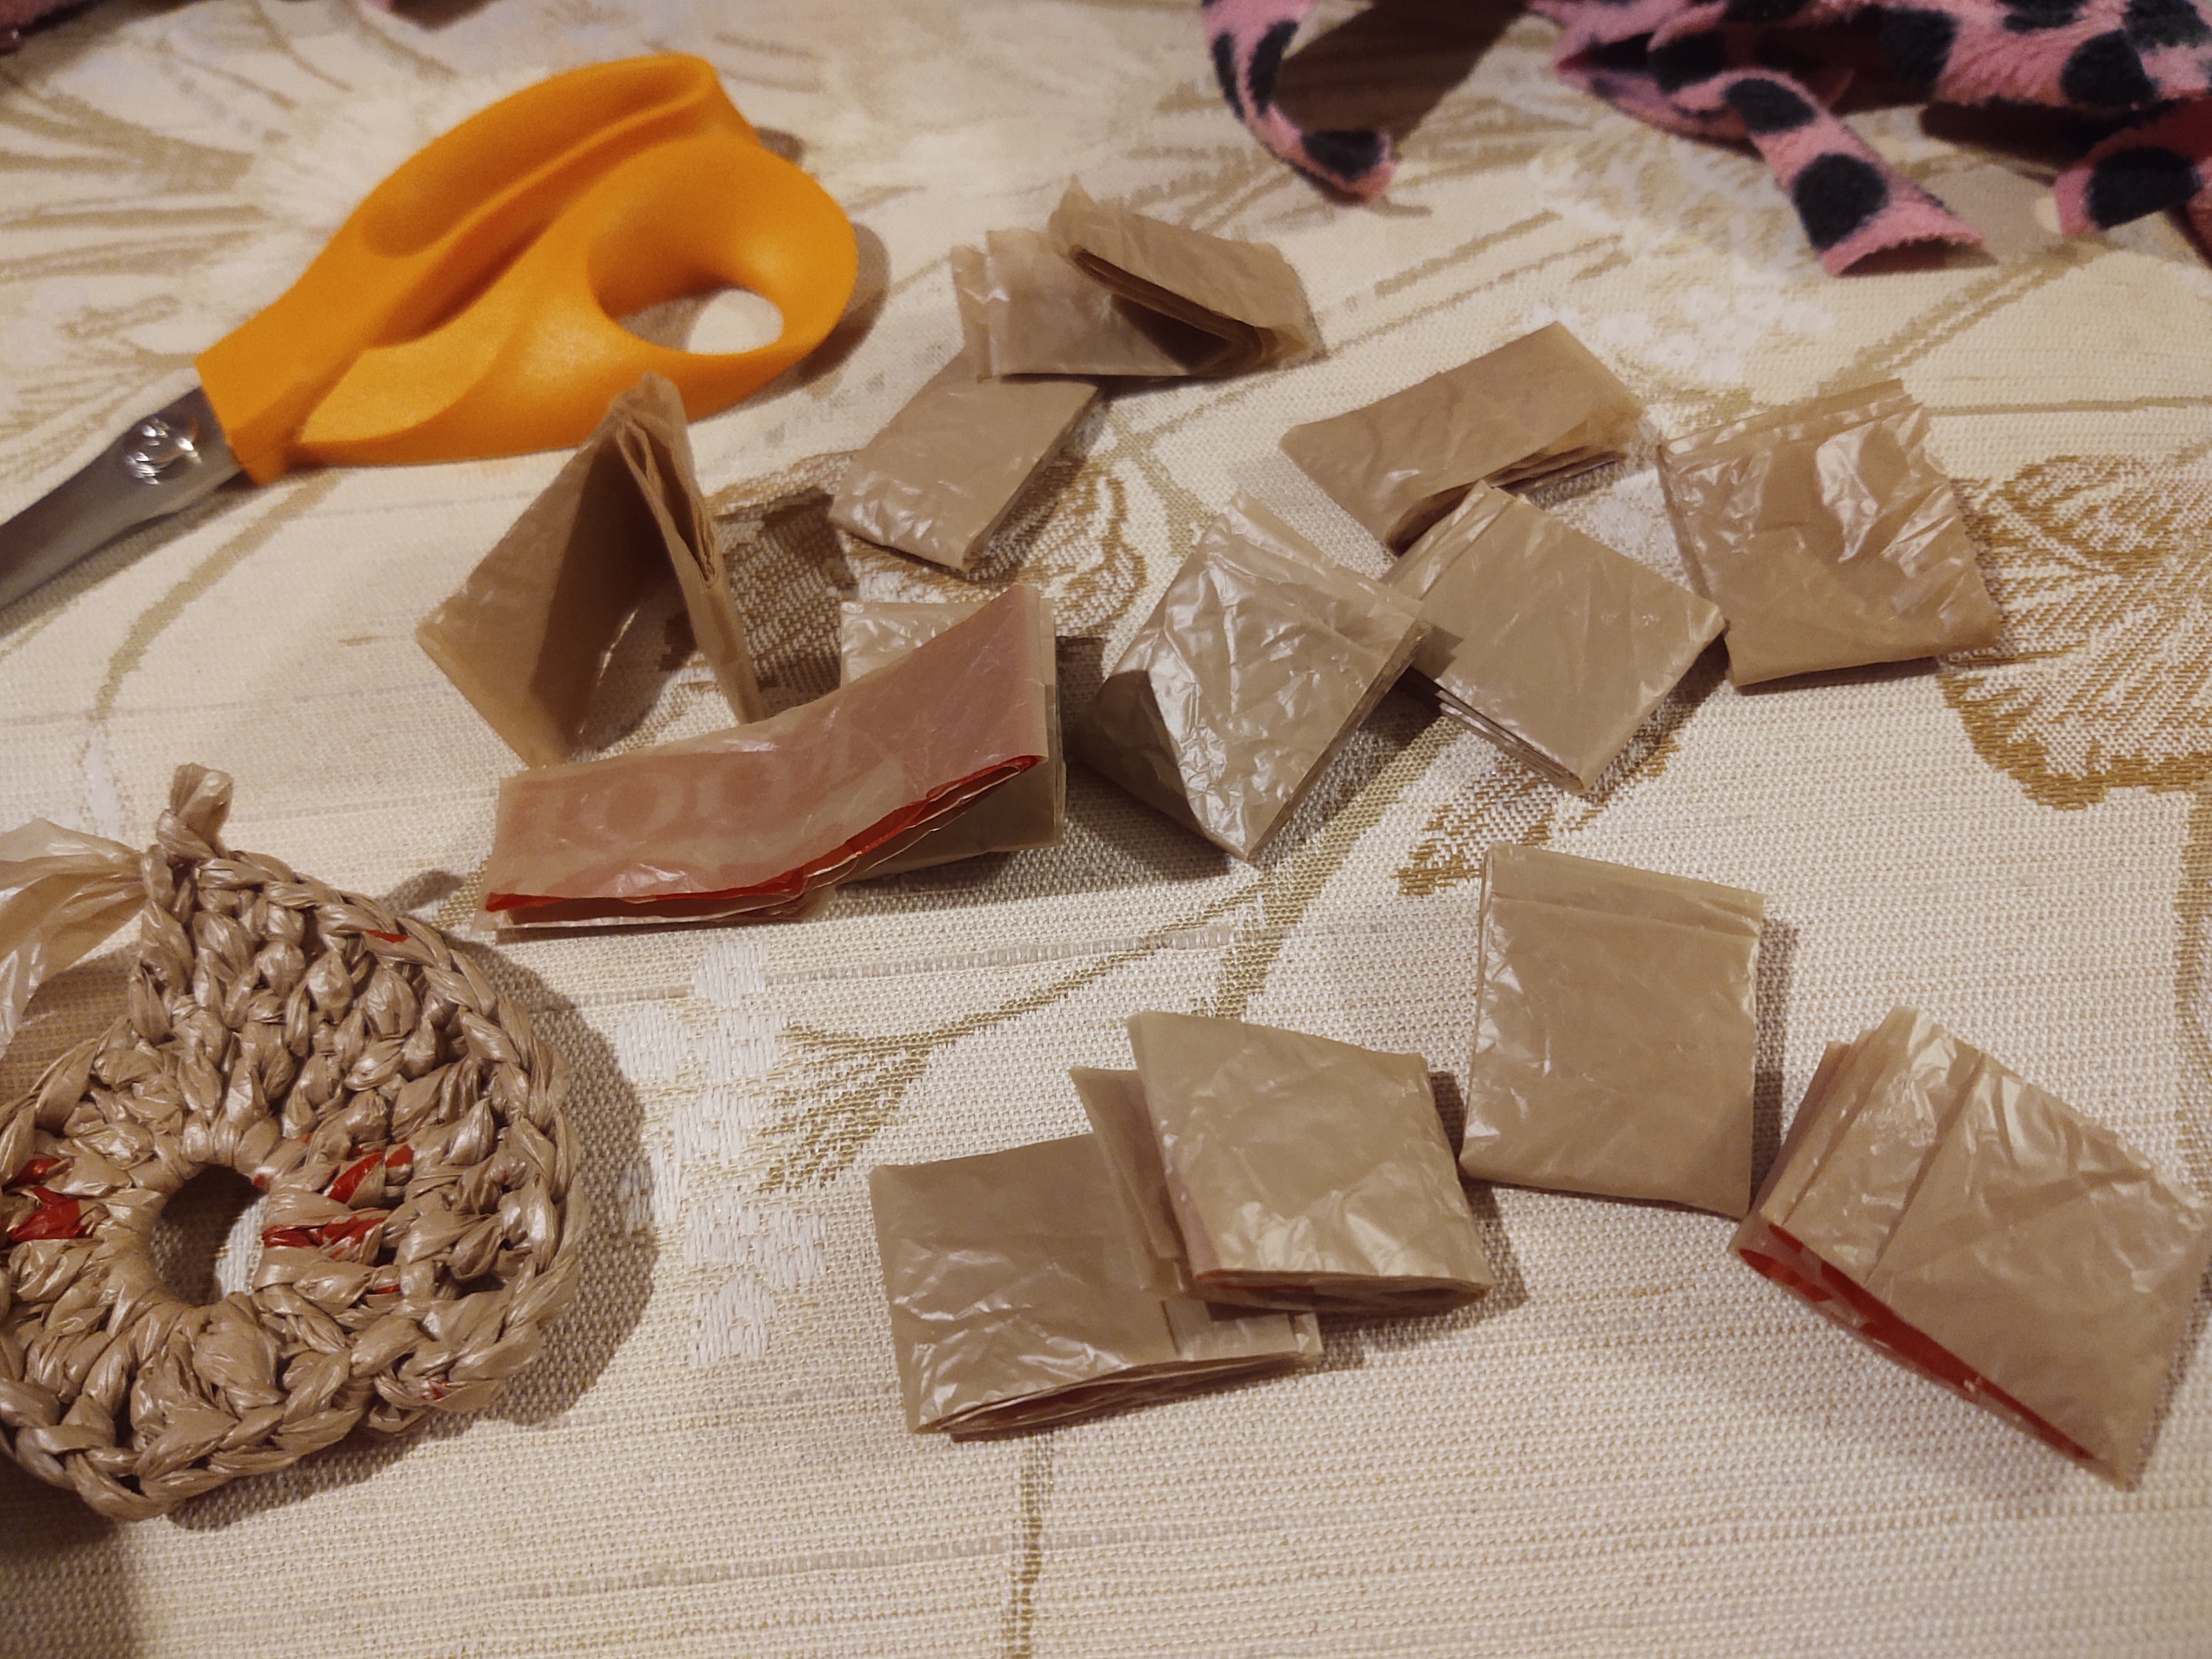
Step 2: cut the bag strips of the same size ensuring to cut as straight as possible.
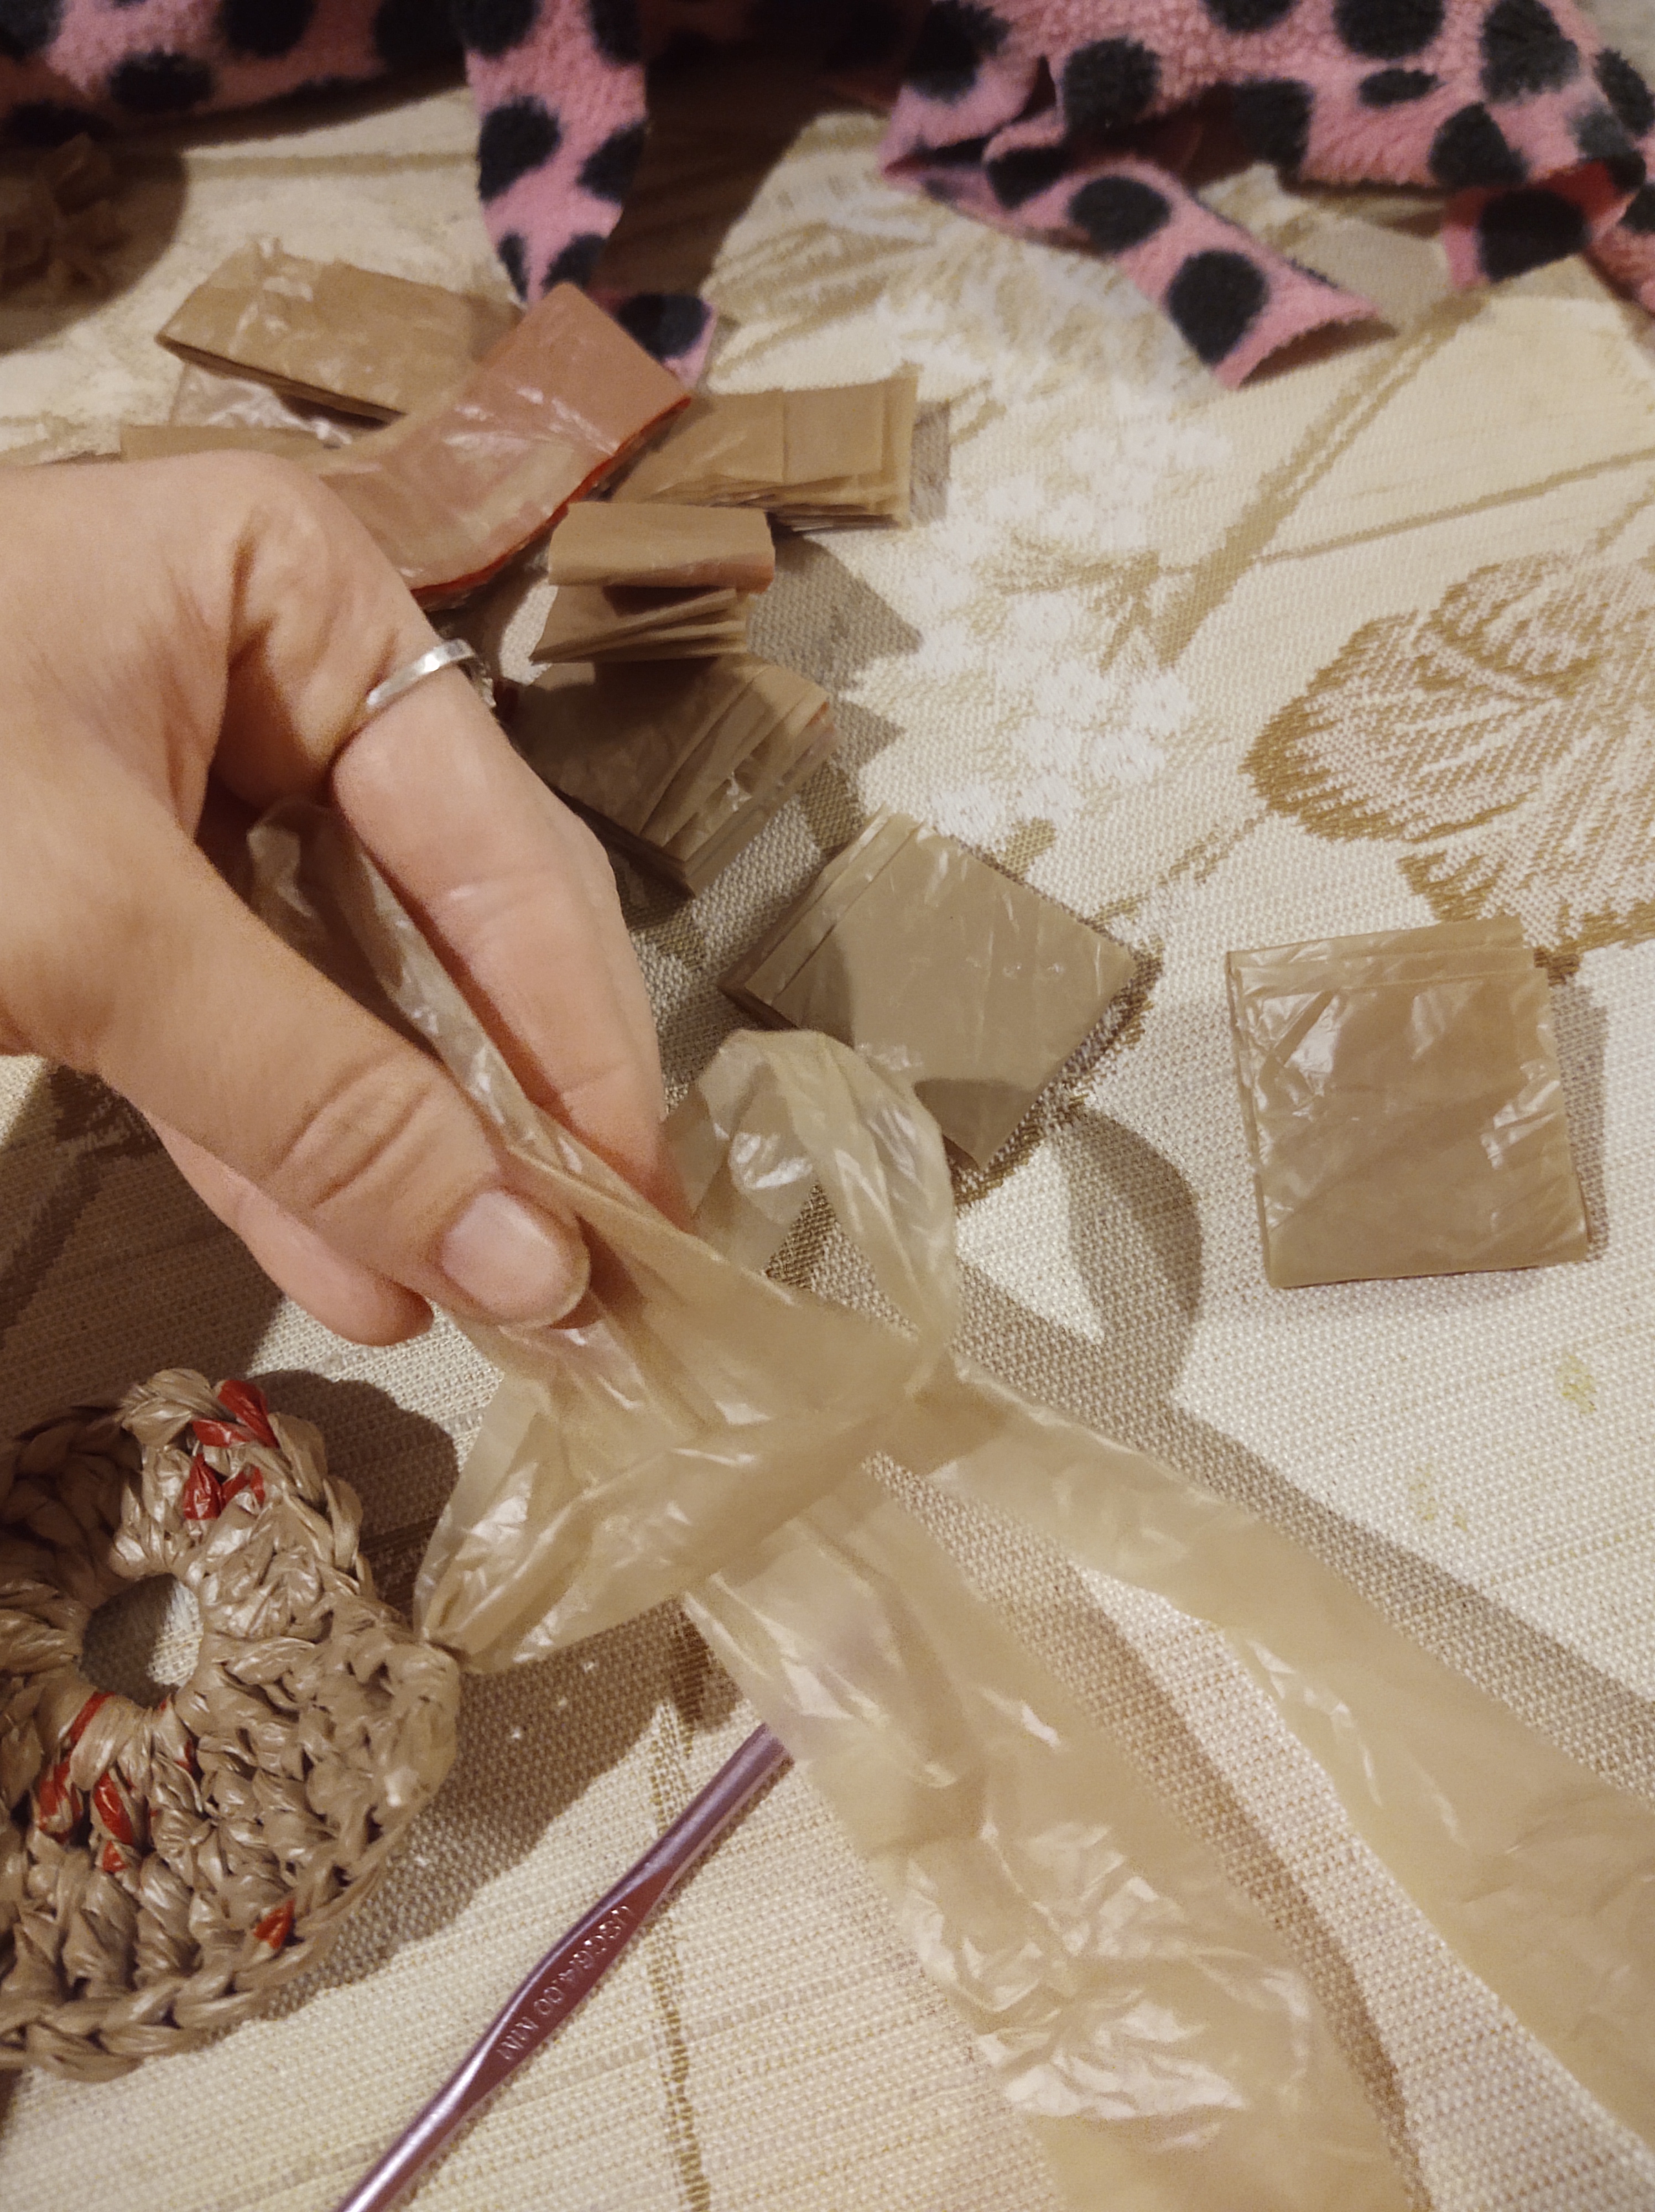
Step 3: tie the strips by passing the new strip through the one you’re already using.
Step 4: fold the new strip over
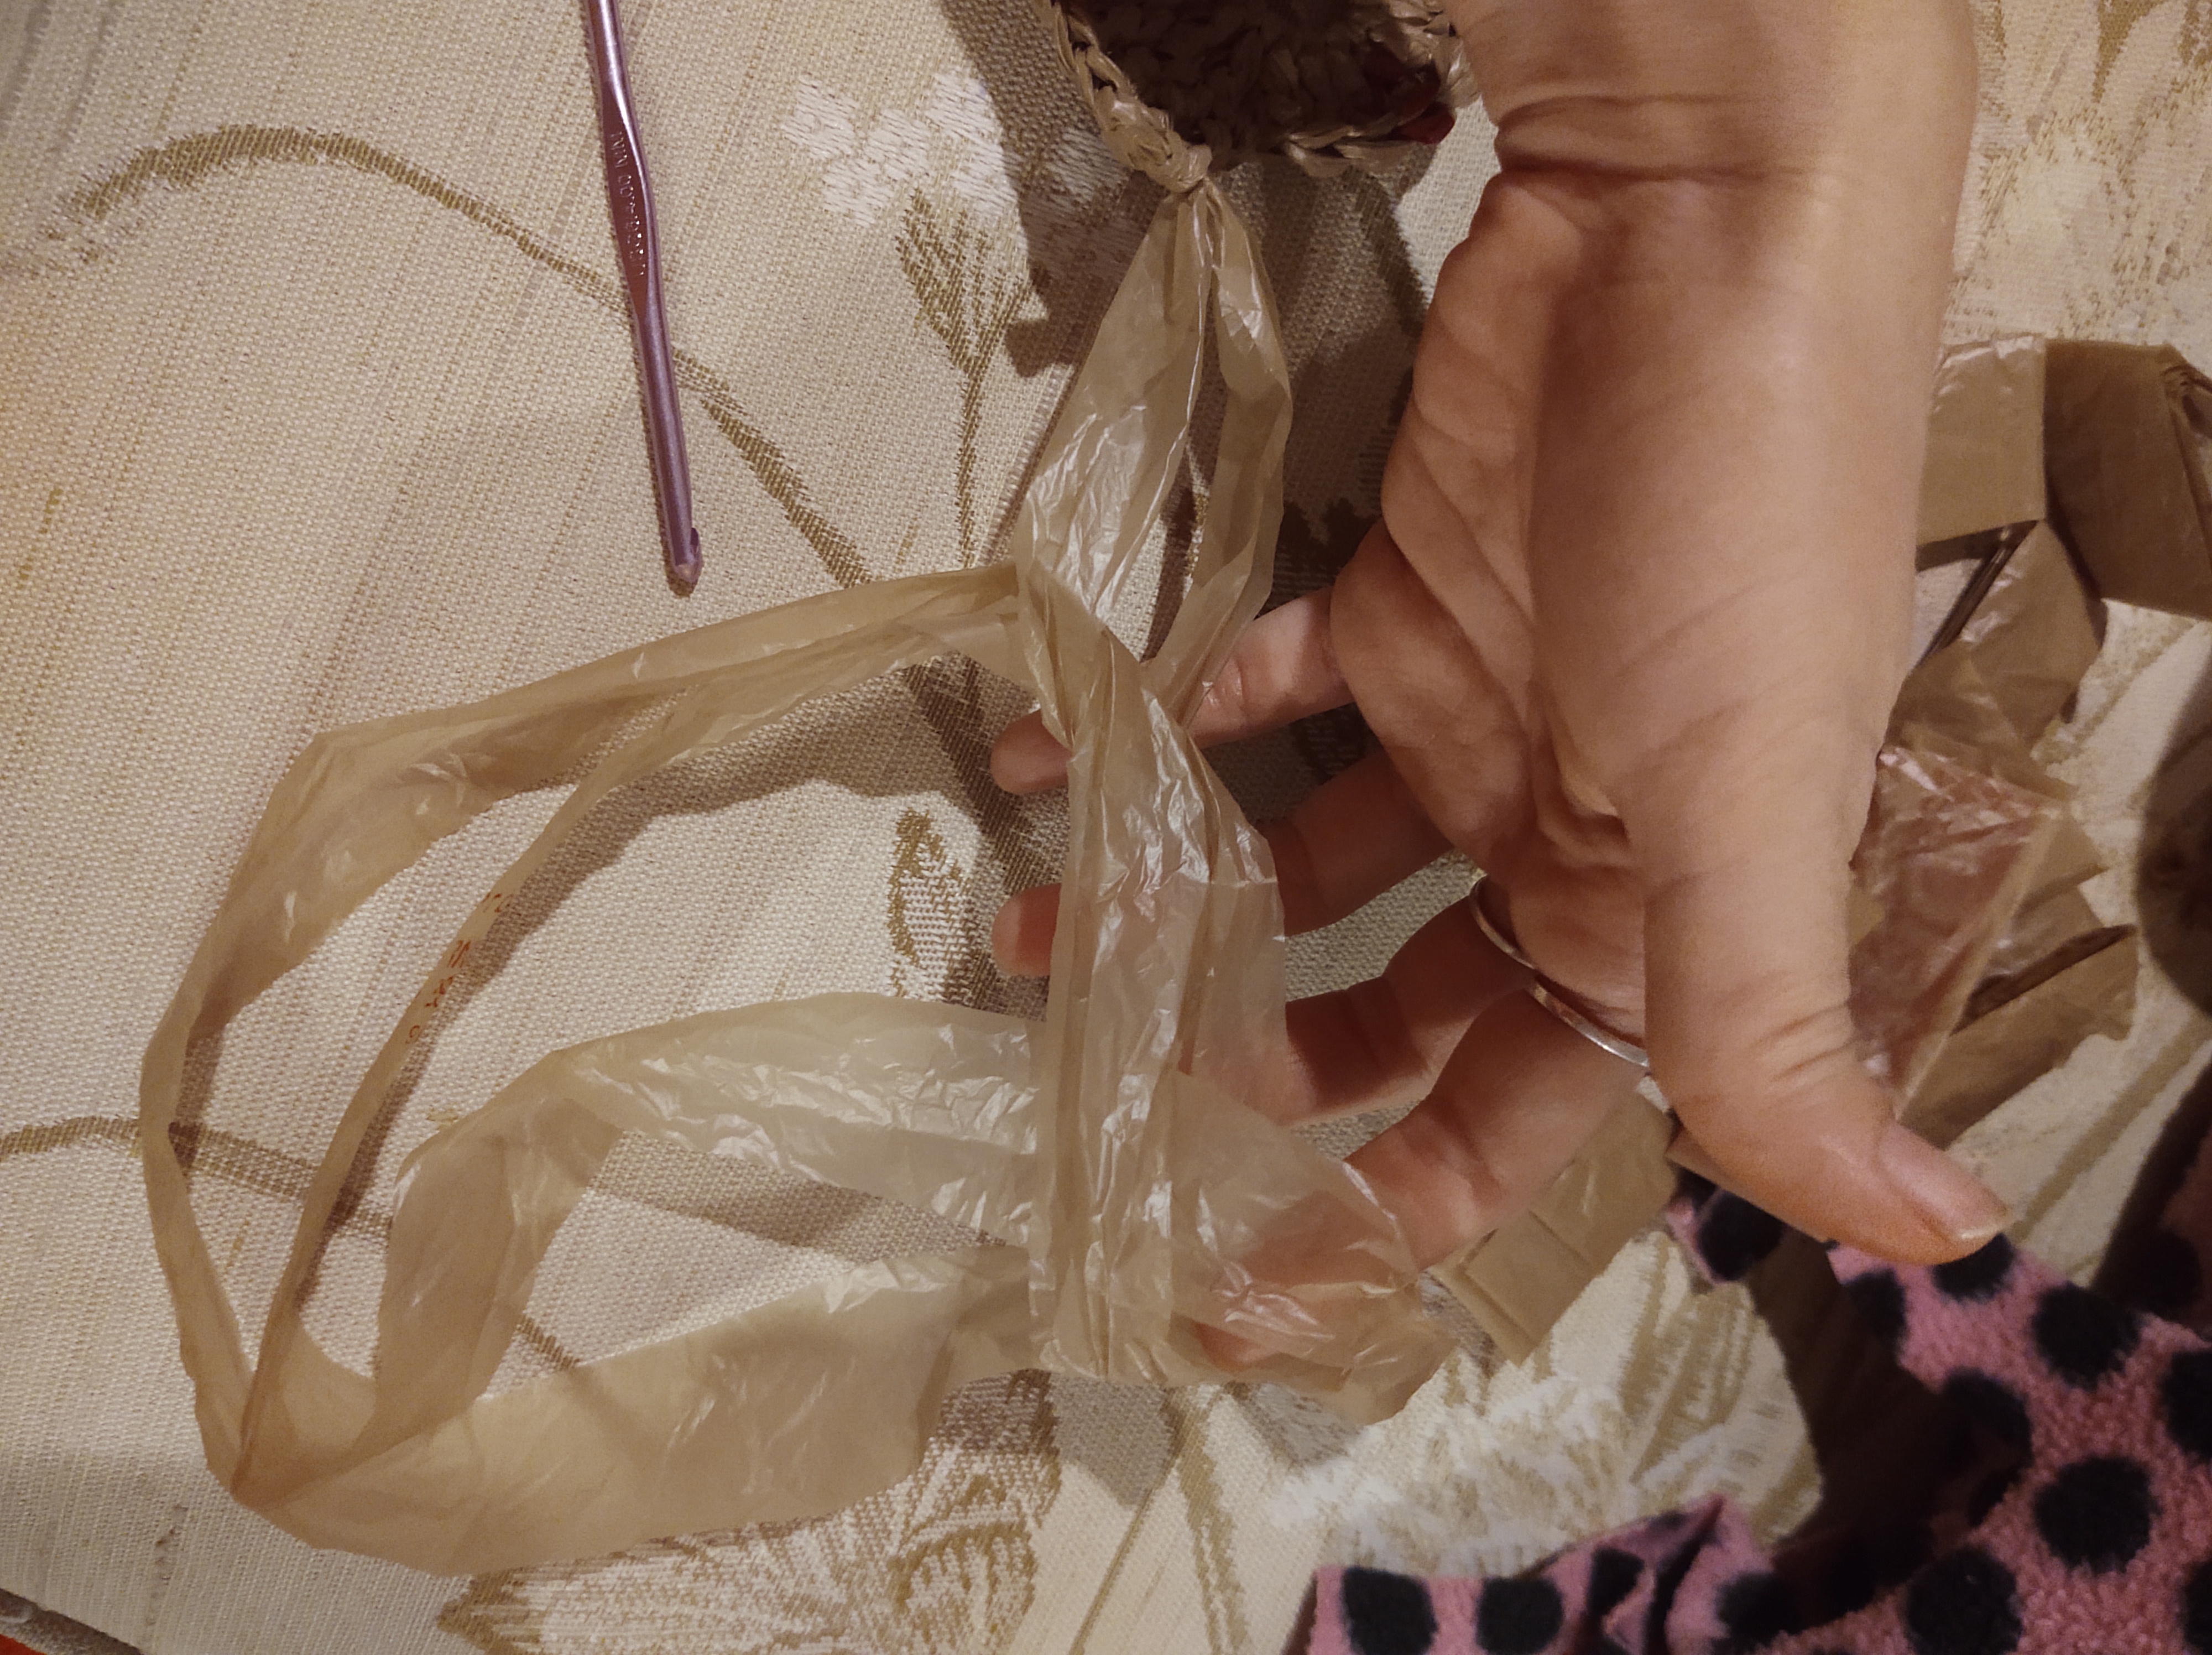
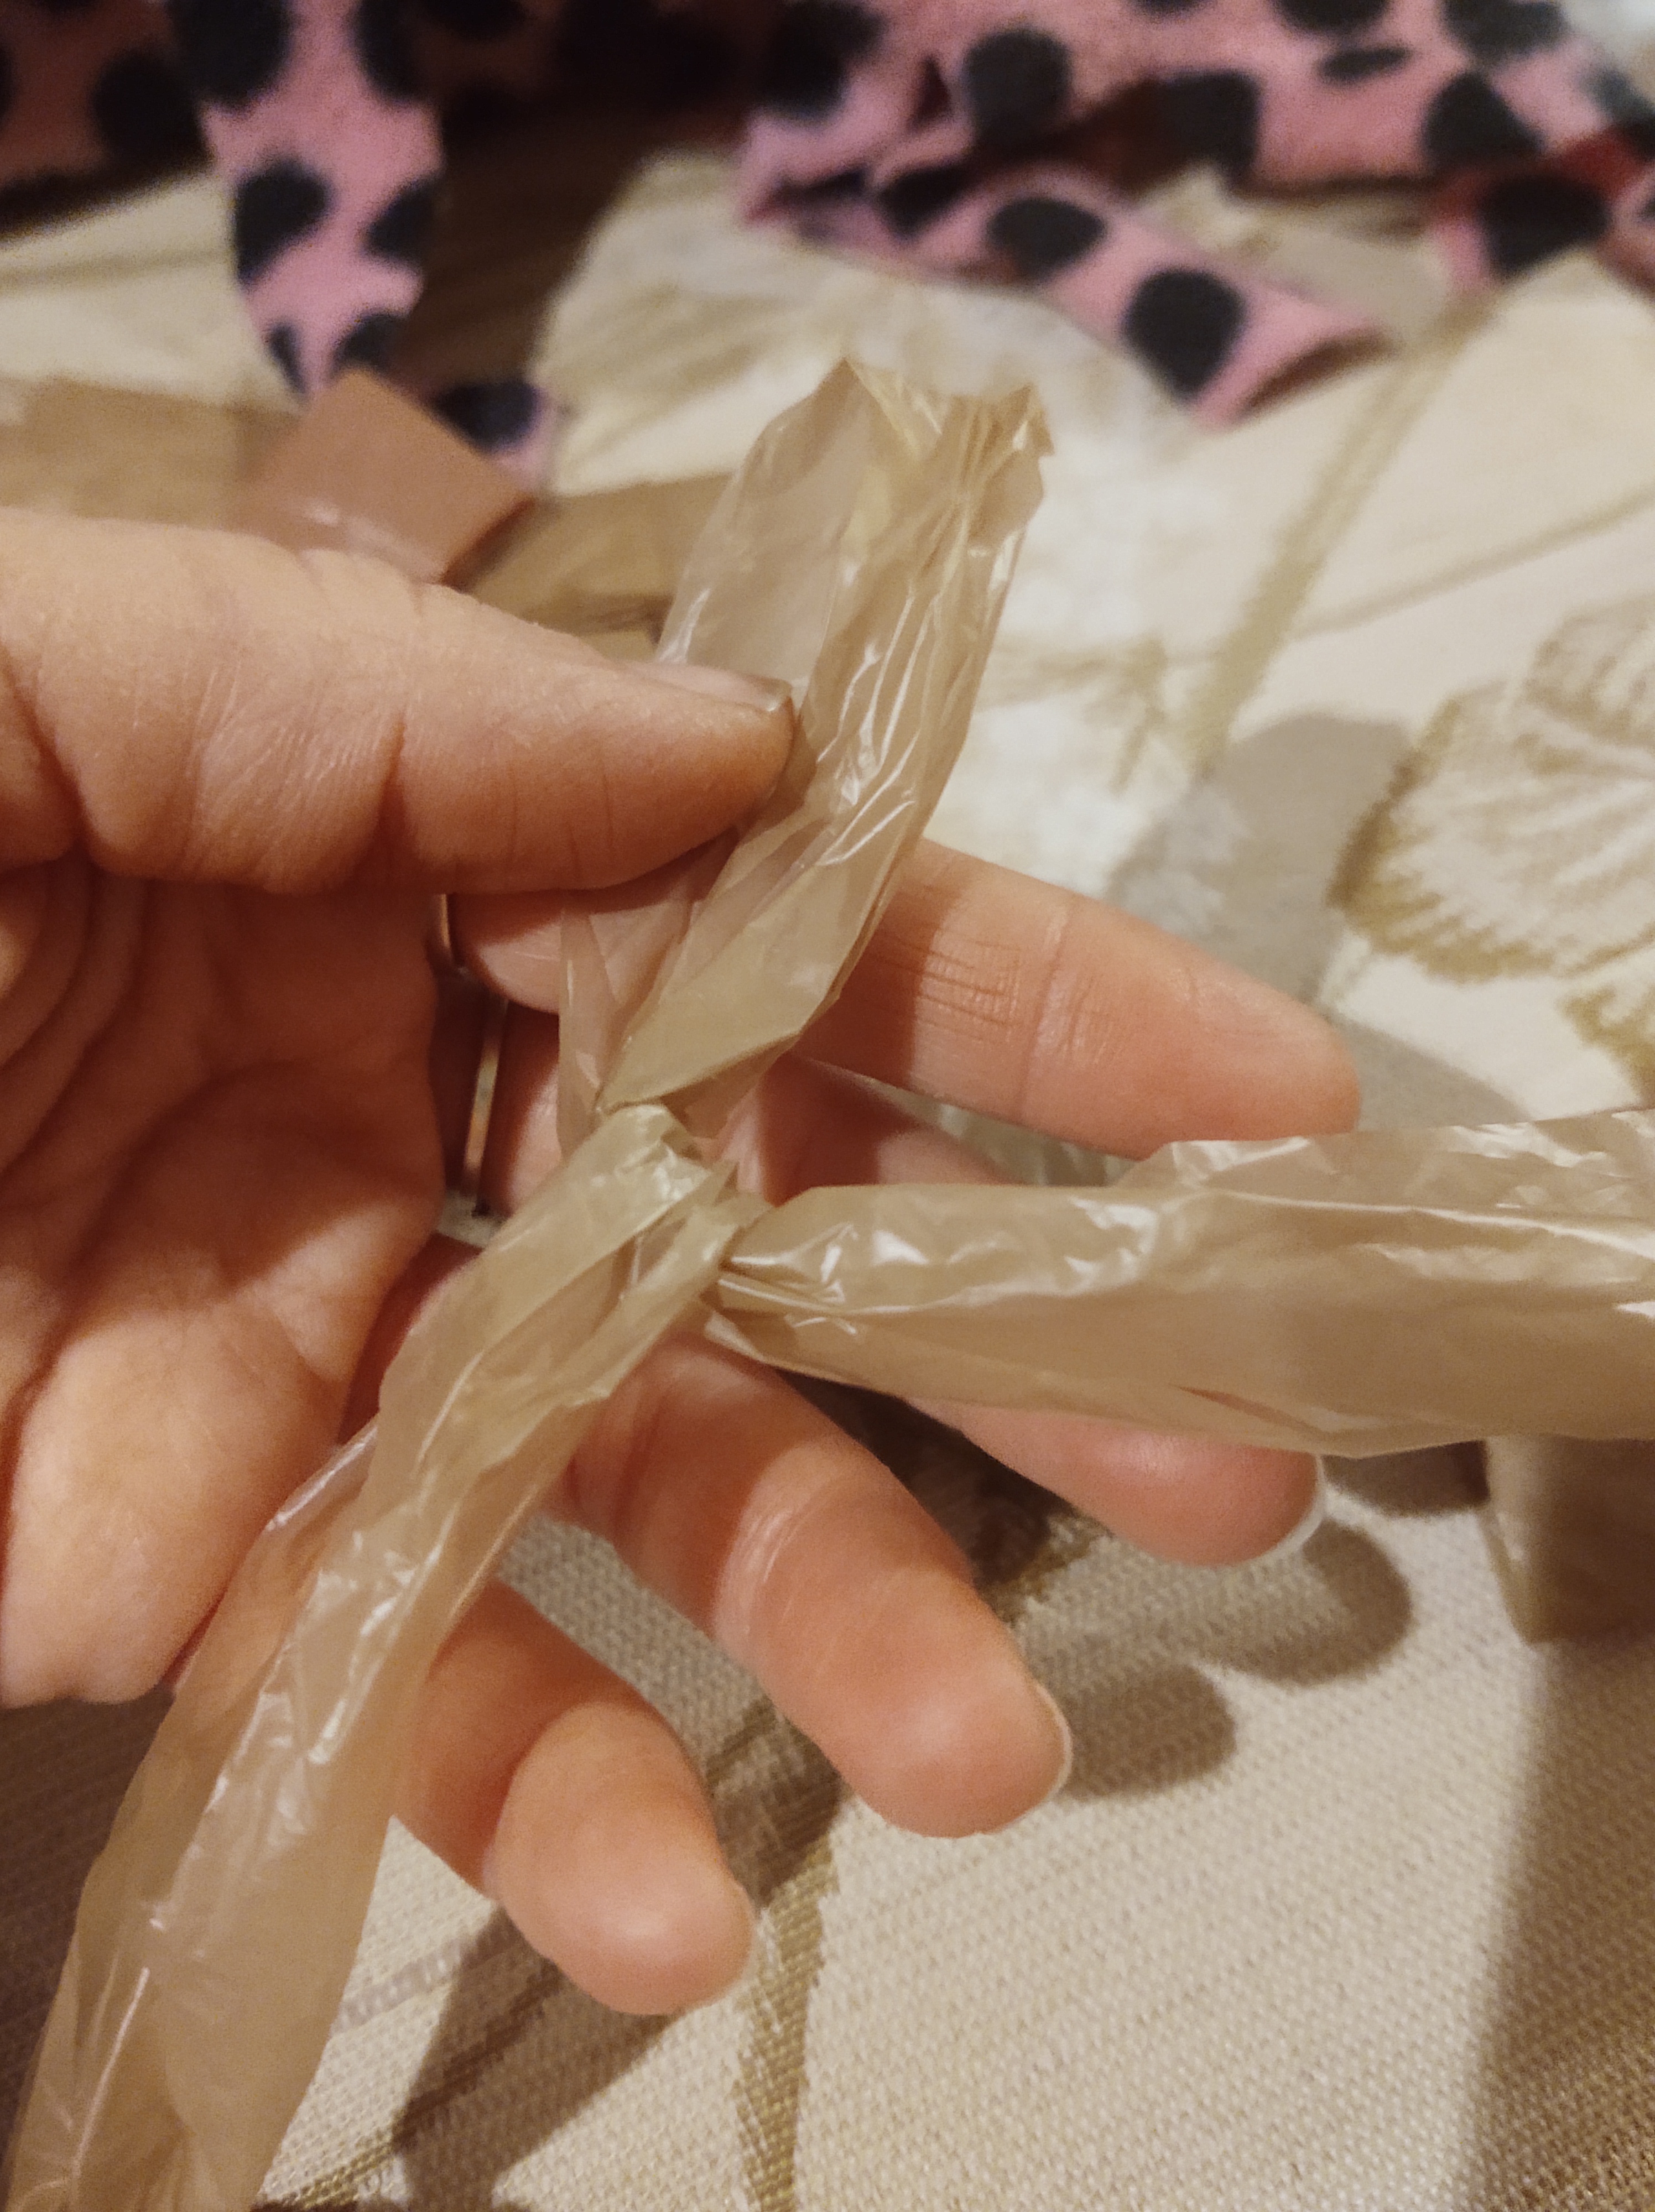
Step 5: now, on the new strip that was weaved through the first one, pass the large end through the small end.
Pull on the long end of the strip until it’s as tight as the picture shows.
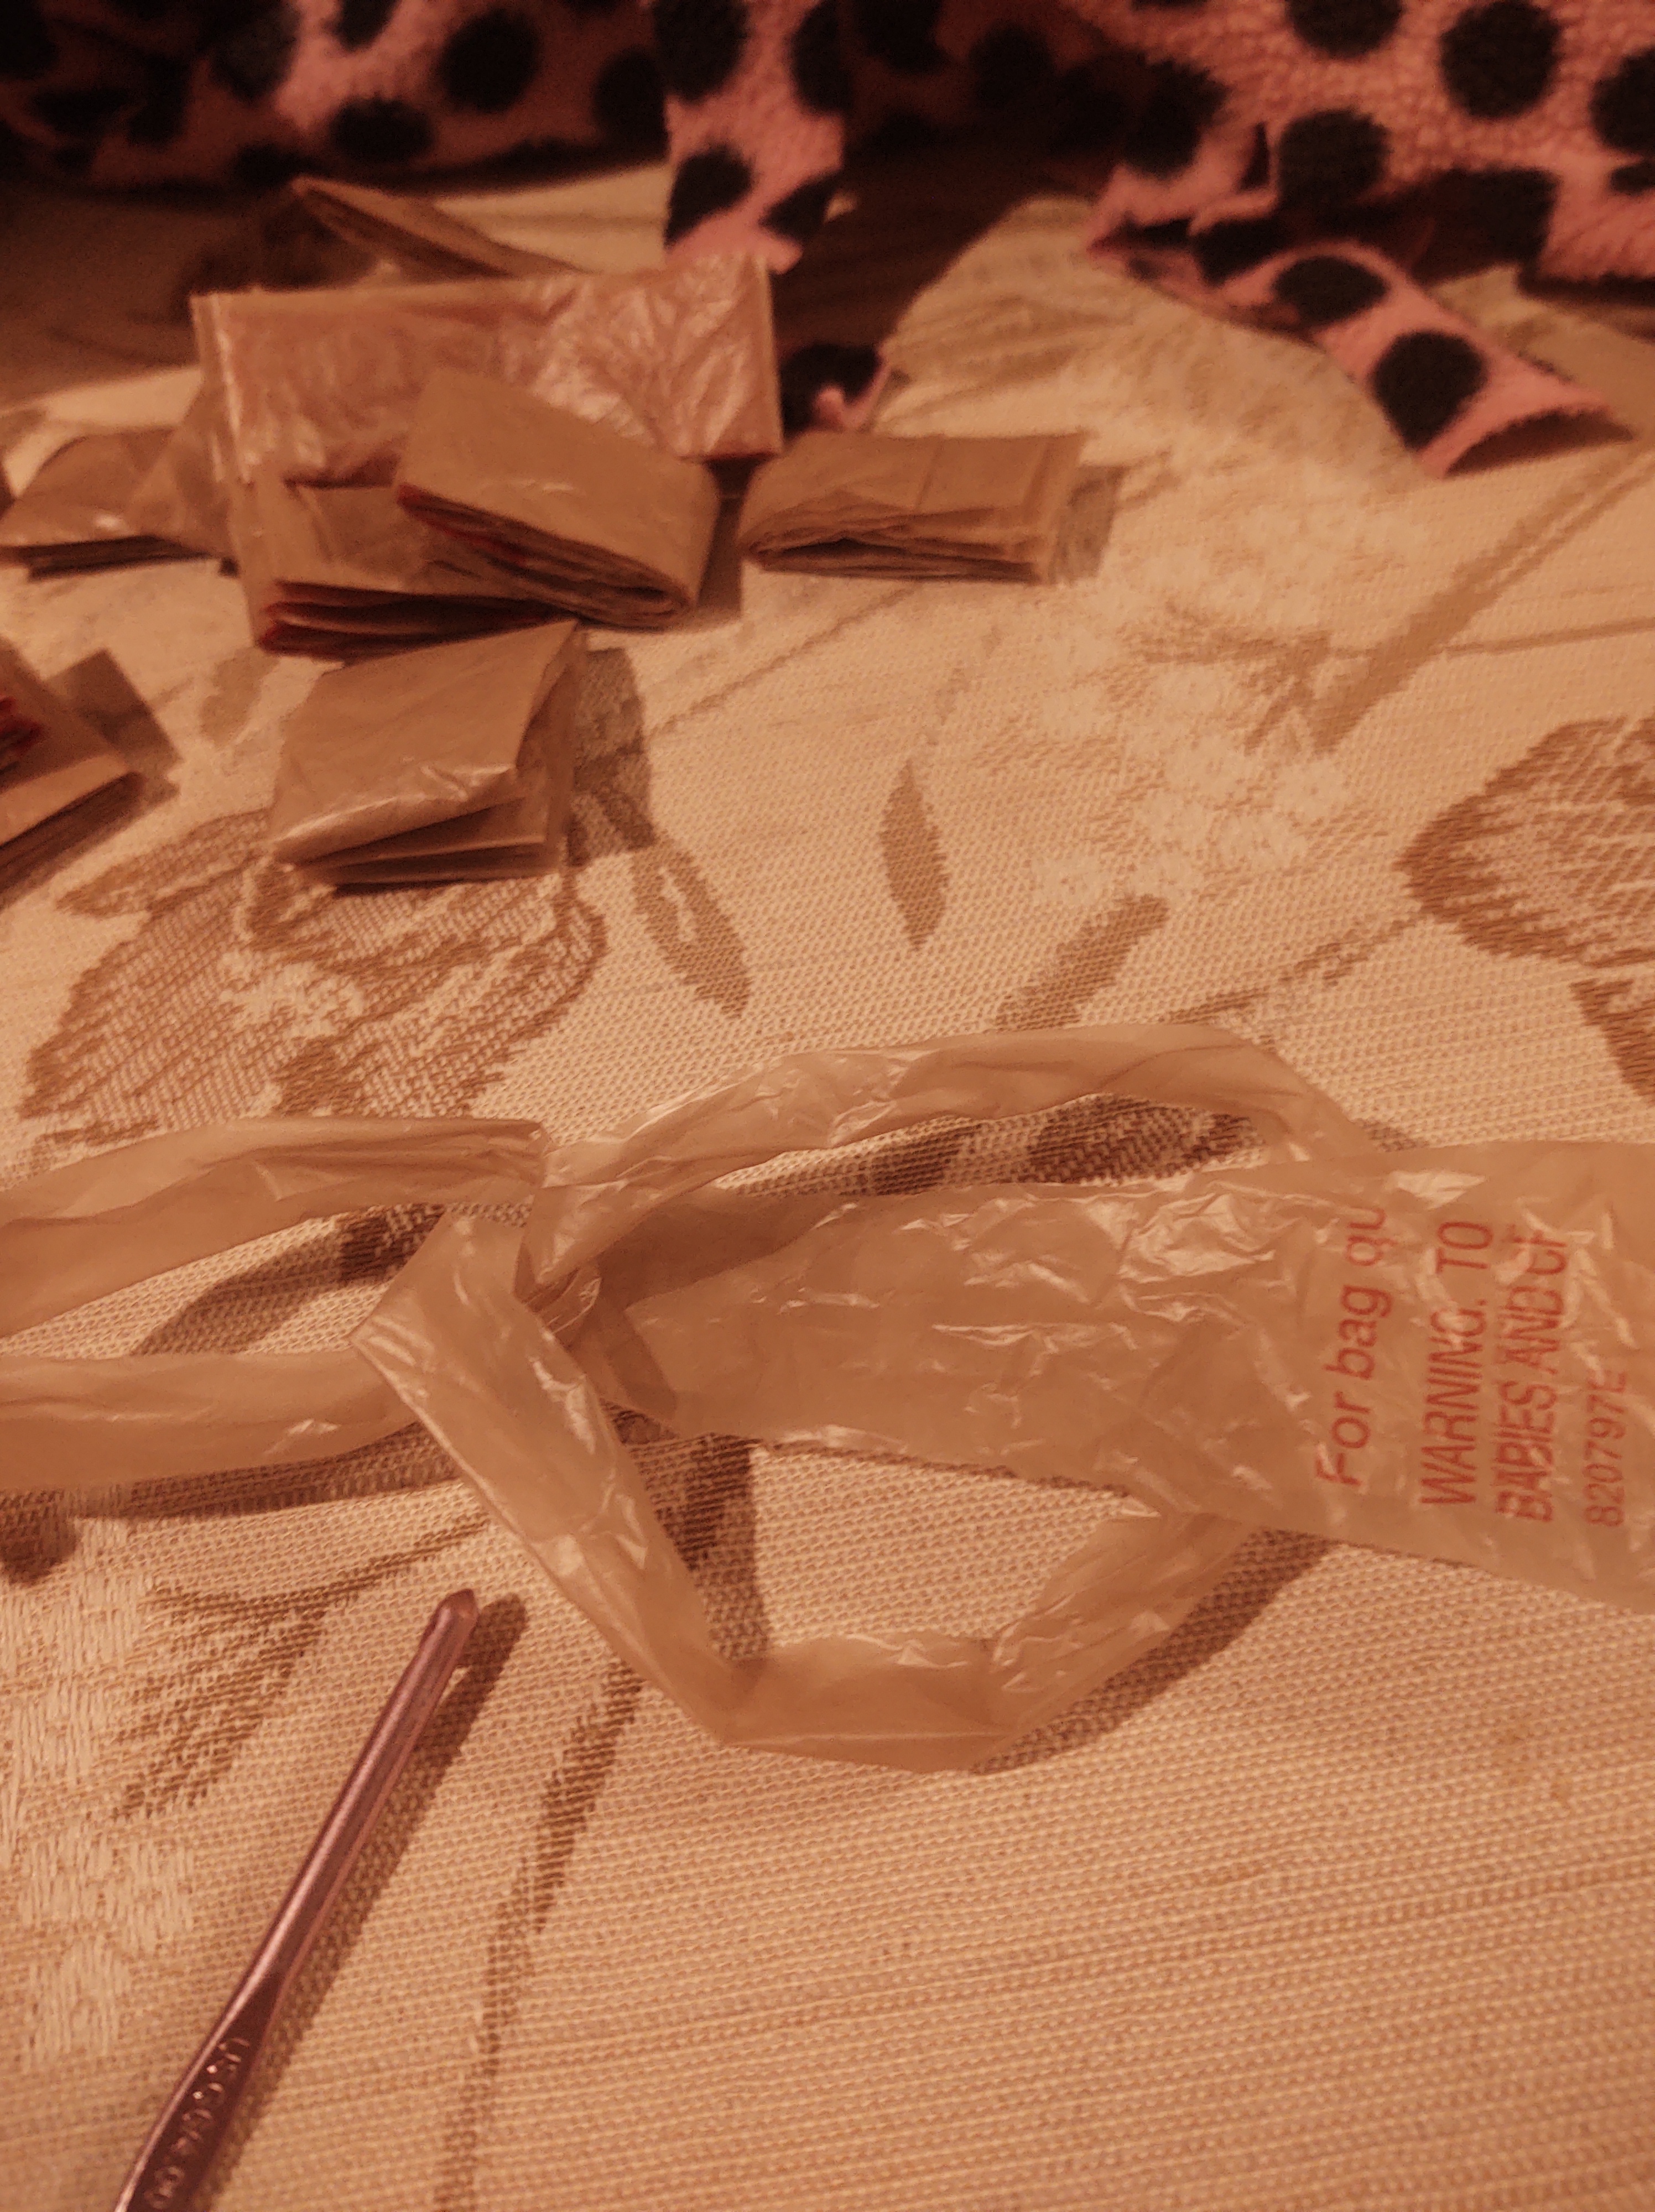
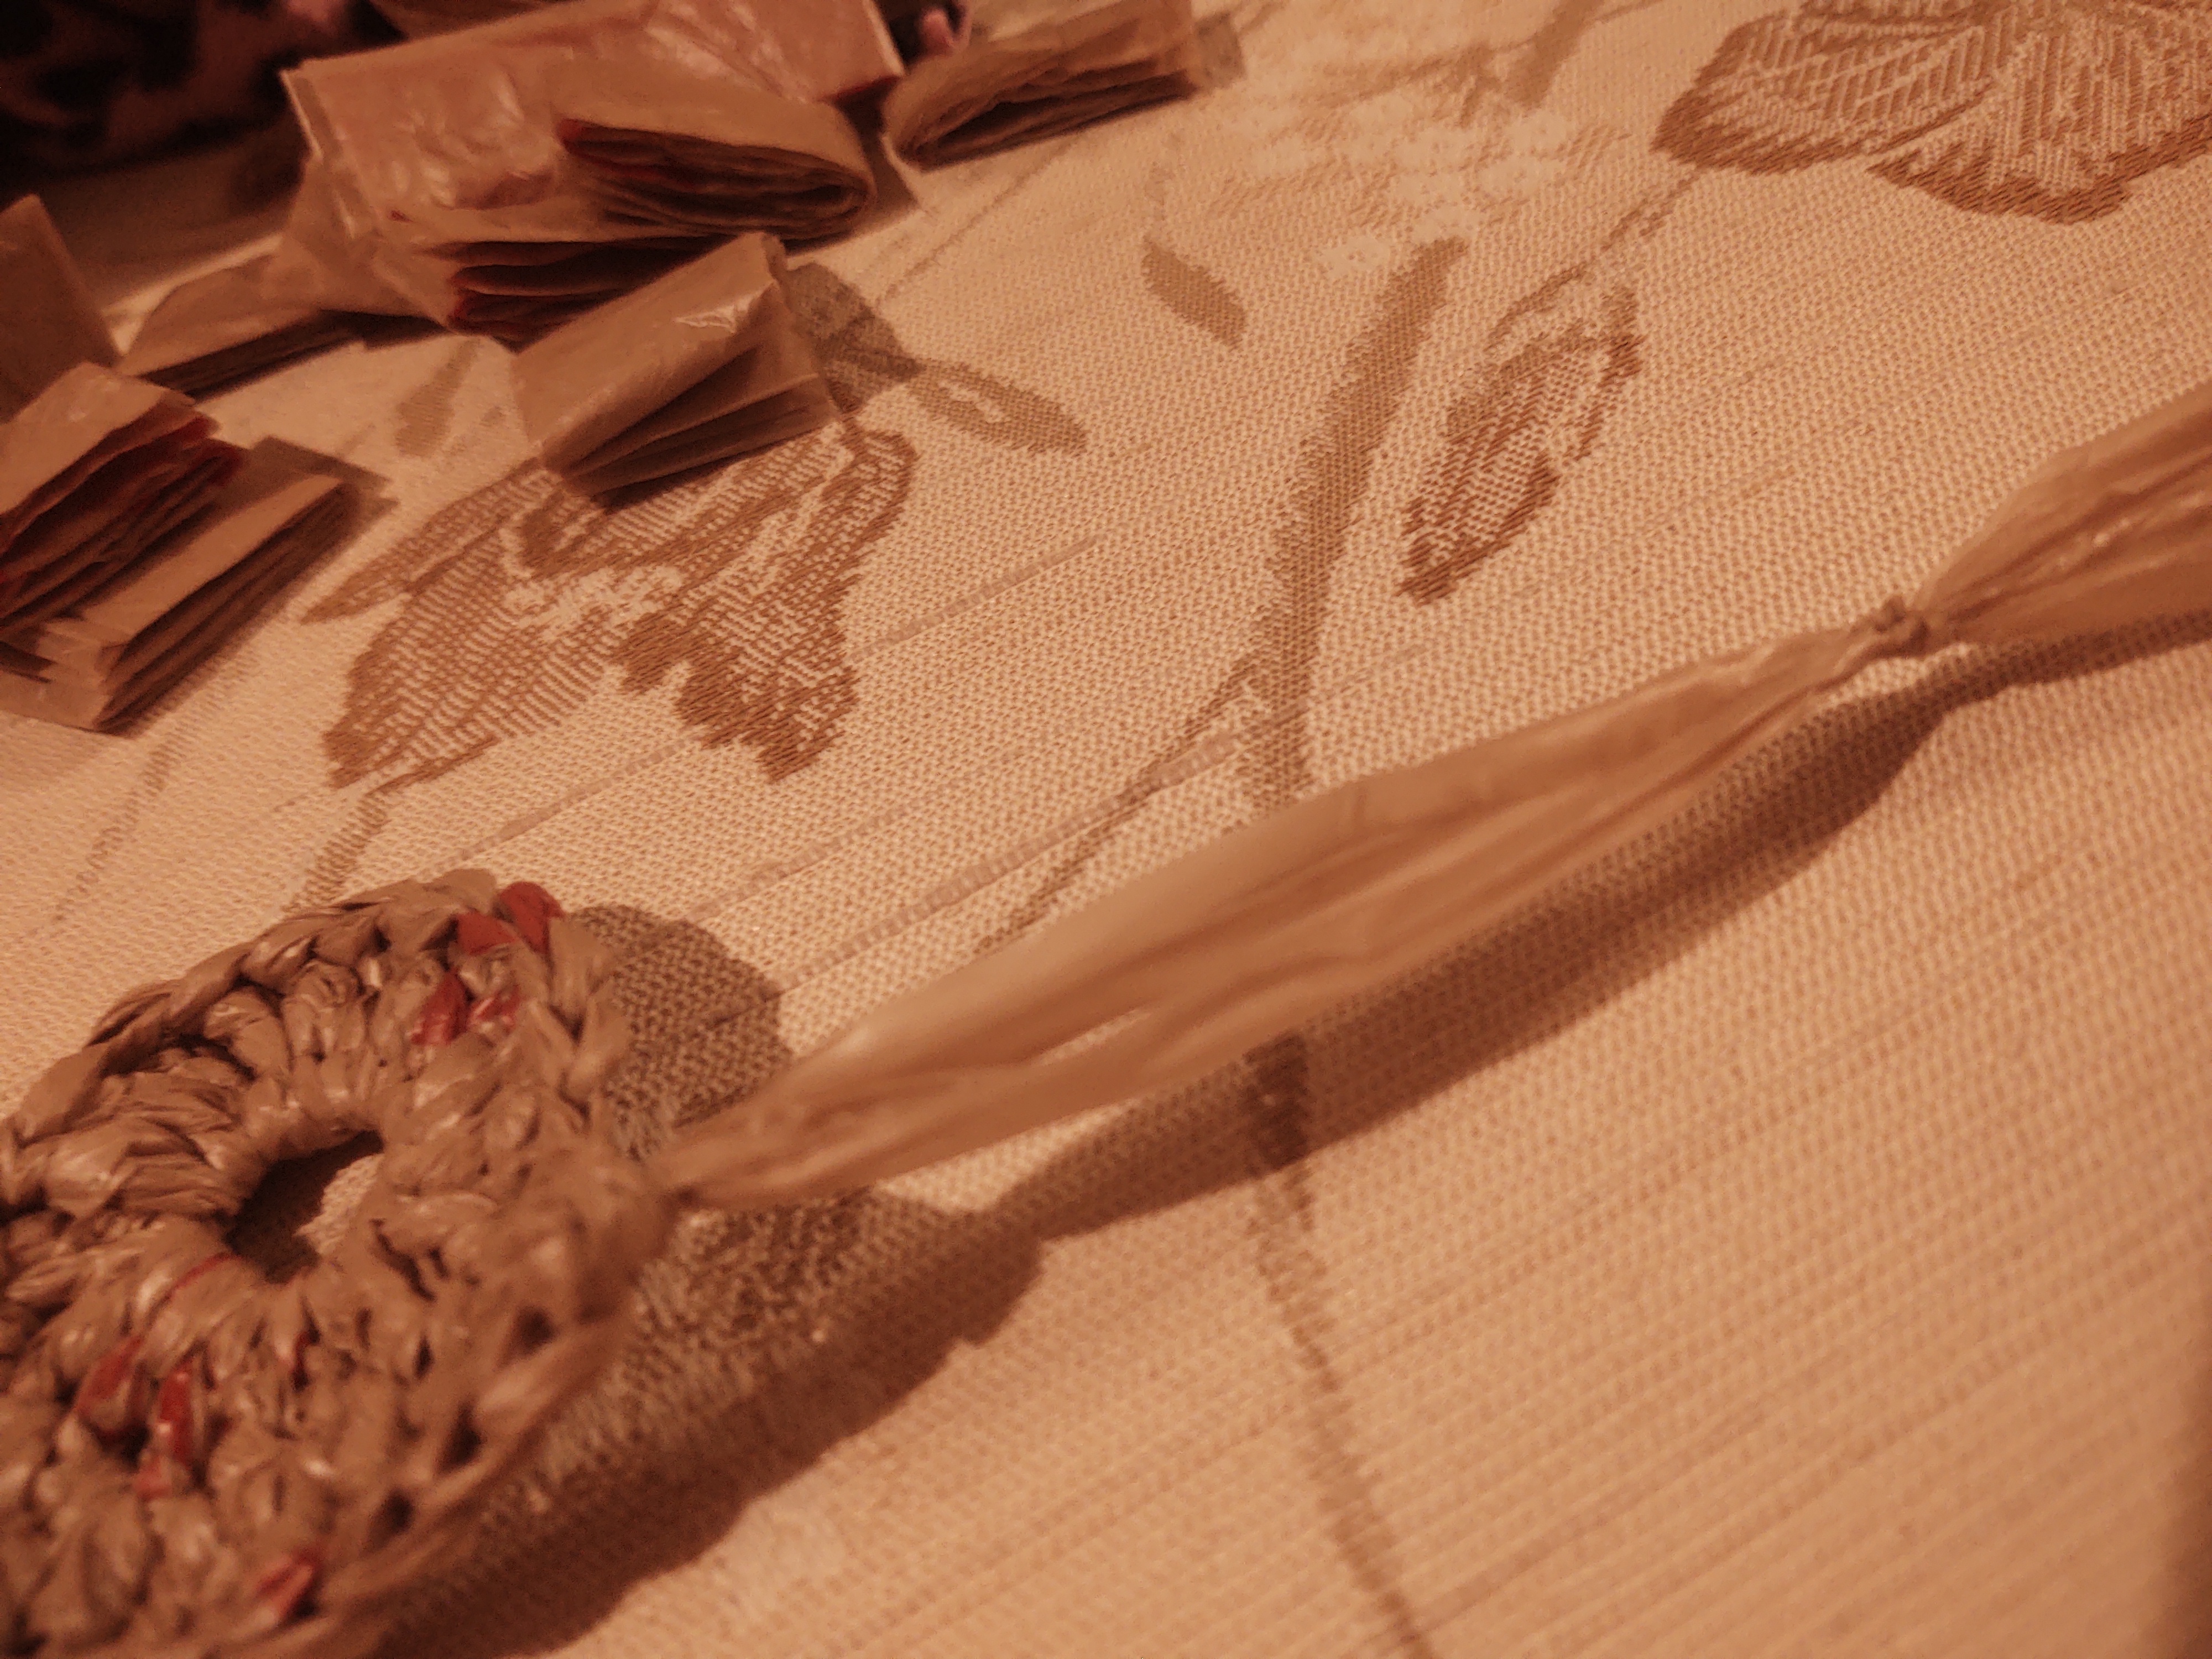
Plastic bags used for 1 coaster
5 bags used total to make a coaster.
How to make the coaster
If you already know how to crochet 🧶…
- Row 1: make a circle. Magic circles don’t work with plarn.
- Row 2: treble crochet X 20
- Row 3: treble crochet. Increasing every other stitch
- Repeat row 3 as many times as desired. My coaster has a total of 4 rows.
Thanks for reading and I’ve finished 2 baskets using this same pattern as the base. I’ll show you those next.
Thanks for your support,
Eve

You must be logged in to post a comment.